Wide Plank Oak Flooring: Pros, Cons and When It Makes Sense
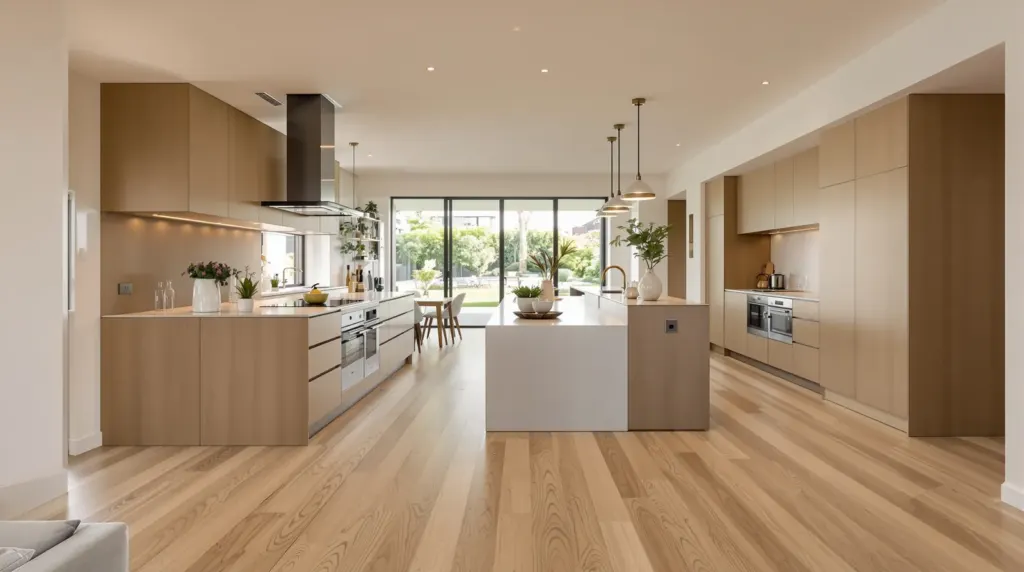
Wide boards look calmer in big rooms but ask more of the subfloor. How 2200 × 220 mm oak compares with a standard plank, with a worked room example.
Read the guide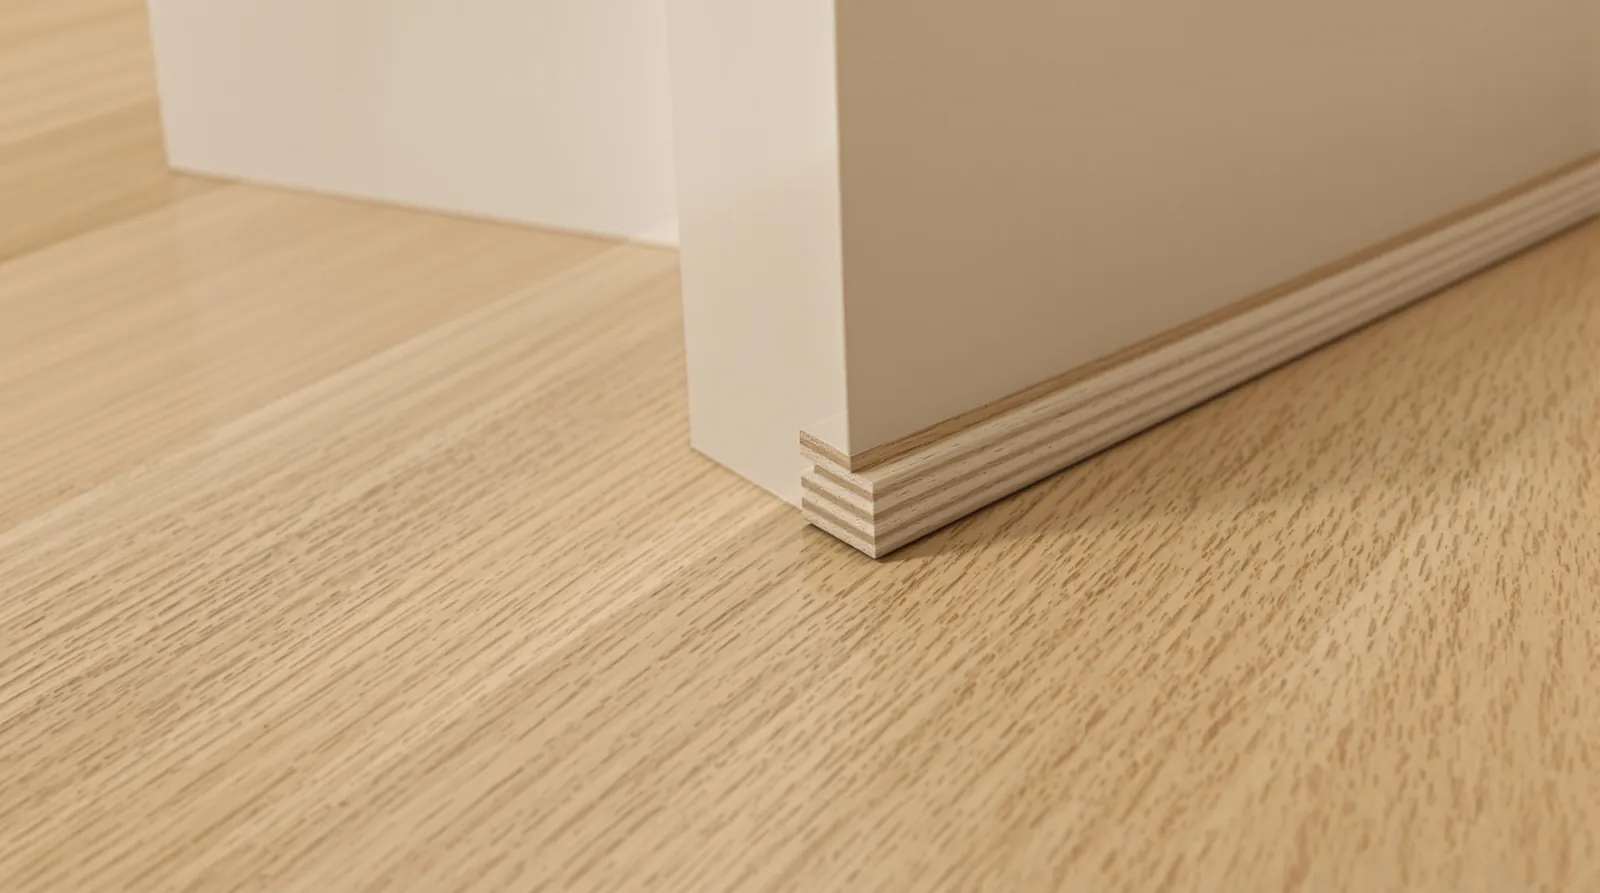
Quick answer
Yes, engineered timber can be sanded if its wear layer is thick enough. Our engineered oak has a 4 mm oak wear layer and our hardwood a 3 mm layer, which allows sanding and refinishing a limited number of times. Most tired floors only need a clean, a light buff and a recoat, which removes no timber at all.
Yes, you can sand engineered timber flooring if the wear layer is thick enough. Our engineered oak has a 4 mm oak wear layer and our Australian hardwood a 3 mm one, which leaves room for sanding and refinishing, but not an unlimited number of times the way a solid board allows. Most engineered floors never need a full sand. A clean, a buff and a fresh coat of finish usually restores a tired floor, so that is the best place to start.
An engineered board has a solid timber layer on top and a layered core underneath. Only the top layer can be sanded. If a sander goes through it, there is nothing left to refinish and the board has to be replaced.
The more useful question is how thick the wear layer is on your boards, and how much of it is left.
| Wear layer | What it usually means |
|---|---|
| A thin veneer, as on some budget boards | Often too thin to sand. Recoat only. |
| 3 mm, as on our Blackbutt, Spotted Gum and Victorian Ash | Can be sanded and refinished, carefully and a limited number of times |
| 4 mm, as on our engineered European oak | More room for sanding over the life of the floor |
How many full sands a given wear layer allows depends on how much each sand takes off. That depends on how flat the floor is, how deep the damage goes and the skill of the person doing it. A floor that is flat and only worn on the surface loses very little. A floor with deep scratches or uneven boards loses more. A fixed number given without inspecting your floor can only be an estimate.
Sanding an engineered floor is a job for an experienced floor sander, rather than a weekend project with a hire machine. A drum sander left running in one spot for a moment can cut a dip, and on a 3 or 4 mm layer there isn’t much margin to fix it. Ask the sander how they plan to handle the bevels and how much they expect to remove, and ask them to check the wear layer at a vent or edge before they start. A good sander will be happy to explain.
There is a big difference between a floor that looks tired and a floor that is damaged.
A tired floor has a dull, scuffed finish in the walkways, fine scratches in the coating, and maybe a greyish look where grit has worn it. The timber underneath is fine. That floor usually needs a deep clean, a light buff to key the surface, and a new coat of a compatible finish. No timber comes off, so the wear layer is untouched.
A damaged floor has scratches or dents that go into the timber, worn-through patches where bare wood shows, water staining, or boards that aren’t level with each other. That is when a full sand is worth talking about.
| What you see | Usual fix |
|---|---|
| Dull finish in the walkways | Clean, buff and recoat |
| Fine scratches in the coating | Clean, buff and recoat |
| A few deep dents or gouges | Replace those boards, or accept them as character |
| Bare timber showing in traffic areas | Sand and refinish |
| Grey or black water stains | Often board replacement, as stains can go deeper than a sand reaches |
| Wanting a completely different colour | Sand and refinish, with the limits below |
Recoating only works if the new coat is compatible with the old one. Oiled and lacquered finishes are maintained differently, so check which finish your boards have before choosing a product. If you bought the floor from us, we’re happy to check for you.
Pre-finished engineered boards have a few features that sanding changes, and this isn’t always explained to buyers.
All our engineered oak has a matte brushed surface, where the grain has been opened slightly to give texture. A full sand takes that texture off and leaves a smooth surface. It can be re-textured, but that is extra work and won’t exactly match the factory finish. A recoat keeps the brushing.
Our boards have a small bevel along the edges. When a floor is sanded flat, the sander can’t reach into those small grooves, so they keep their old finish and any dirt in them. If the sand goes deep enough, the bevel disappears altogether, which changes the look of the floor and uses up more wear layer.
Many engineered colours come from stains, smoking or other treatments at the factory. Sanding back to bare oak removes that colour, and a stain applied on site may not match the original. Boards with a reactive finish, like our Westminster and the rest of that series, get their board-to-board variation from how each one took the treatment at the factory. That look is very hard to reproduce by hand. For these floors, recoating is almost always the better path.
Our engineered European oak is 15 mm with a 4 mm oak wear layer. Our Australian hardwood boards, in Blackbutt, Spotted Gum and Victorian Ash, are 14 mm with a 3 mm wear layer and come in a smooth 10% gloss finish or matte brushed. Both can be sanded, the oak with a little more margin. The smooth hardwood finishes have no brushing to lose, so they are a little simpler to refinish. The trade-off is that they show fine scratches sooner.
If long-term sanding is your main concern, full-thickness solid boards have the most timber to work with. Our Australian hardwood comes both as 14 mm engineered boards and as 18 mm solid tongue-and-groove boards. Our post on engineered vs solid timber flooring weighs up the difference.
Laminate and hybrid floors can’t be sanded at all. The timber look is a printed layer under a clear wear layer, and sanding goes straight through it. When they are damaged, the damaged boards are replaced. That is one of the main differences between these floors and real timber.
A customer once contacted us about sanding and coating the floor of a house they had just moved into. The timber looked raw to them, and they assumed it needed treatment. Before the job started, they sent our consultant a photo. She let them know that the floor didn’t need any treatment at all and was ready to move in on. They wrote a review about it afterwards.
We mention it because this happens more often than you might expect. A floor that looks dry or pale is sometimes just the finish it was designed with, particularly matte and natural-look finishes. A floor that looks dull may just need a proper clean with the right product. Before booking a sand, it is worth having the floor assessed by someone who offers more than sanding alone.
The best way to keep sanding options open is to look after the finish so they are rarely needed. Grit is what wears a floor, so vacuum often with a hard-floor head, put mats at the outside doors, and use felt pads under every chair and table leg. Please damp mop only, with a cleaner suited to the finish, and avoid steam mops. Our care and warranty page covers the routine for each floor type. The pros and cons of the board itself are in engineered oak flooring pros and cons.
If your engineered floor is looking tired, send us a few photos through our contact page, including a close-up of the worst area and a wider shot of the room in daylight. Tell us what the floor is if you know it. We will give you our view on whether it needs a recoat, a sand, a few replacement boards, or nothing at all. You’re also welcome to call 1300 690 160 or bring a spare board into 2/1386 Toorak Road, Camberwell.
Questions
It depends on the wear layer thickness and how much each sand removes, which in turn depends on how flat the floor is and how deep the damage goes. A thicker wear layer allows more. We recommend having the floor inspected before committing, and choosing a recoat whenever the damage is only in the finish.
A recoat cleans and lightly buffs the existing finish, then adds a fresh coat on top. No timber is removed. A sand takes the finish and a layer of timber off to reach clean wood, then refinishes it. Recoating keeps your wear layer and brushed texture intact.
We don't recommend it. Hire sanders can remove timber quickly, and on a thin wear layer one mistake can go through to the core, which can't be repaired. Uneven sanding also leaves dips that show under light. We suggest using an experienced operator and checking the wear layer thickness first.
It can. Many engineered colours come from stains or factory treatments that sit in the top of the wear layer. Sanding back to bare timber removes them, and a colour applied on site may not match. Reactive and smoked finishes are especially hard to reproduce.
Wide boards look calmer in big rooms but ask more of the subfloor. How 2200 × 220 mm oak compares with a standard plank, with a worked room example.
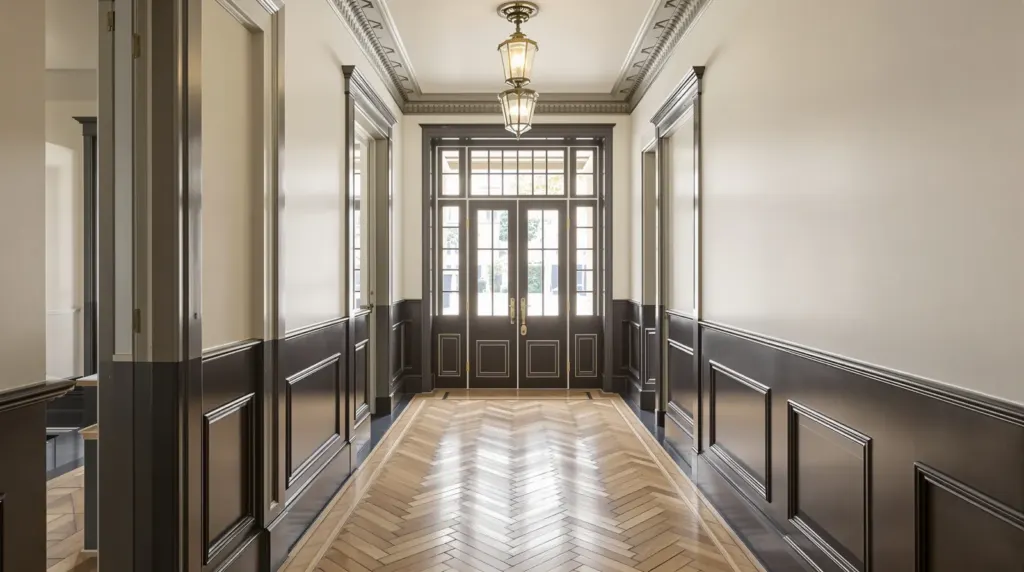
Read the guideHow to plan herringbone in a Kew house: pattern direction in long halls, borders around fireplaces and old walls, colour choice and the extra material to order.
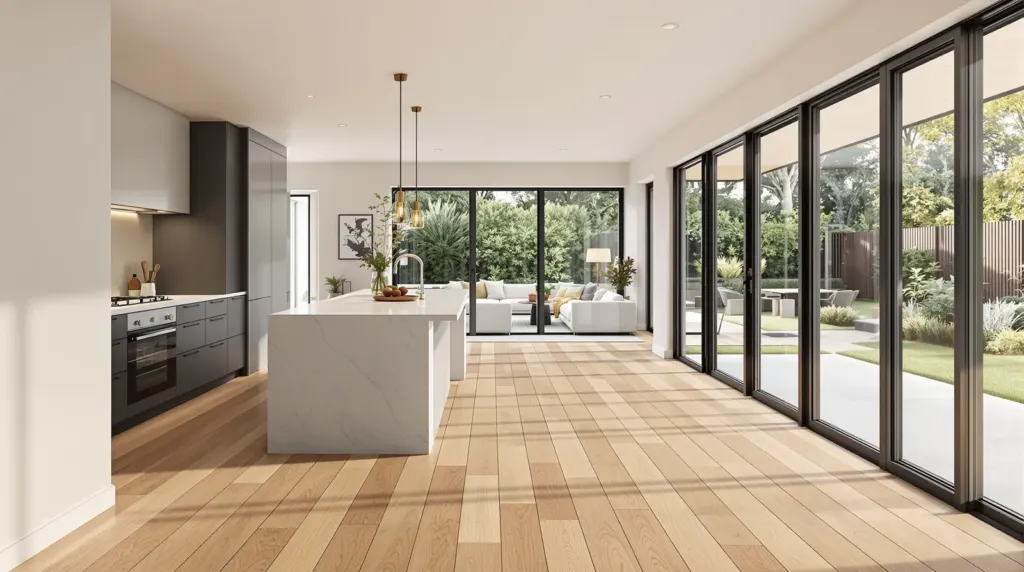
Read the guideWhen a 2200 × 220 mm oak board suits a big open-plan Balwyn North rebuild, which way to run it, and what the subfloor has to be like first.
Read the guideFree measure & quote
Let us know your suburb and we will call you to arrange a time. Our quotes are itemised, so you can see the boards, preparation and labour separately.